
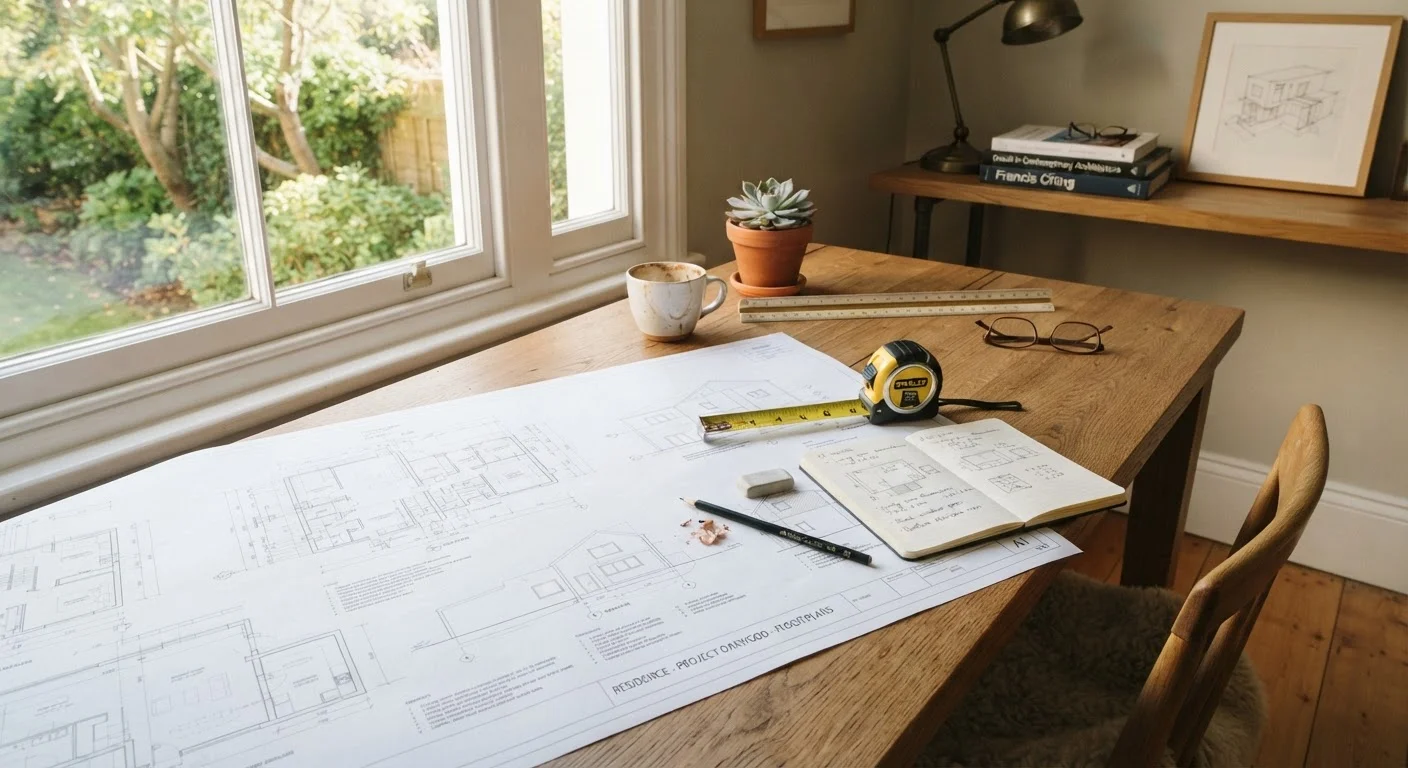
Why Planning Comes Before Picking Up Any Tool
Home improvement projects - whether a fresh coat of paint or a bathroom gut-remodel - share one common failure point: starting before you're truly ready. Skipping the planning phase leads to budget overruns, permit violations, and work that has to be redone. If you're new to tackling projects at home, it helps to first understand what home improvement actually encompasses, since the category is broader than most people assume.
This checklist walks you through every critical decision point before a single tool leaves the drawer. Use it for any project - small or large - to move forward with clarity and confidence.
Measuring tape and level
Accurate measurements and straight lines are essential for planning material quantities and confirming feasibility before purchasing anything.
Dedicated project notebook or digital document
Centralizes your scope notes, budget tracking, contractor contacts, permit numbers, and timeline in one place.
Camera or smartphone
Documents the before condition of the space and records progress for insurance, contractor reference, and future inspections.
Stud finder and non-contact voltage tester
Helps identify structural elements and live electrical circuits before cutting into walls - critical for safe planning.
Hazardous materials test kit
Screens for lead paint or asbestos in homes built before 1980, informing whether professional abatement is needed.
The Planning Checklist
Work through each group in order. Items marked must are non-negotiable for most projects; should items are strongly recommended; nice to have items add polish and protection where time and resources allow.
Define the Project Scope
Budget and Finances
Permits and Code Compliance
Safety Preparation
Timeline and Sequencing
Licensed Professionals Are Non-Negotiable for Certain Work
Electrical panel work, gas line connections, structural modifications, and tie-ins to the main plumbing supply are not suitable DIY tasks for most homeowners. Errors in these areas create fire, explosion, flooding, and structural collapse risks. Always hire a licensed, insured contractor for these systems, verify their credentials with your state licensing board, and ensure inspections are completed as required by local code.
Putting the Checklist Into Practice
Once you've worked through this checklist, you'll have a documented plan that covers scope, budget, permits, safety, and sequencing. That document becomes your reference point throughout the project - and evidence of due diligence if any disputes arise with contractors or inspectors.
If you're unsure where to start in terms of which projects deserve your attention first, the guide on where to start improving your home offers a practical prioritization framework based on impact, cost, and effort. For keeping the non-project areas of your home in order while work is underway, browsing home organization strategies can help you maintain function during construction disruption.
Don't Skip the Permit Step
Unpermitted work can void your homeowner's insurance for related claims, create liability if someone is injured, and trigger expensive corrective requirements when you sell. Many buyers and lenders require a clean permit history. When in doubt, call your local building department - a brief conversation can save significant future expense.
Hazardous Materials in Older Homes
Homes built before 1980 may contain lead-based paint or asbestos in insulation, floor tiles, or textured ceilings. Disturbing these materials without proper precautions creates serious health risks. Always test before cutting, sanding, or demolishing, and hire a licensed abatement professional if hazardous materials are detected.
Remember: even well-planned projects encounter surprises. Building in flexibility - both financial and temporal - is what separates a stressful renovation from a manageable one.